
티스토리 뷰
Todo List
📍 기능
- TodoList 보여주기 (text, toggle 버튼)
- + 버튼으로 팝업창 띄우기
- 팝업창에서 data 입력 => TodoList 추가

1️⃣ UI 구현
UIKit에 있던 UITableView는 SwiftUI에 없고, 대신 List를 사용하였다.
UIKit에는 있는데 SwiftUI에는 없는 기능들이 있어서,,,, 자꾸 헷갈린다 ㅎㅎ 나중에 정리해야겠다.
UITableView(UIKit) => List(SwiftUI)
✏️ List
더보기
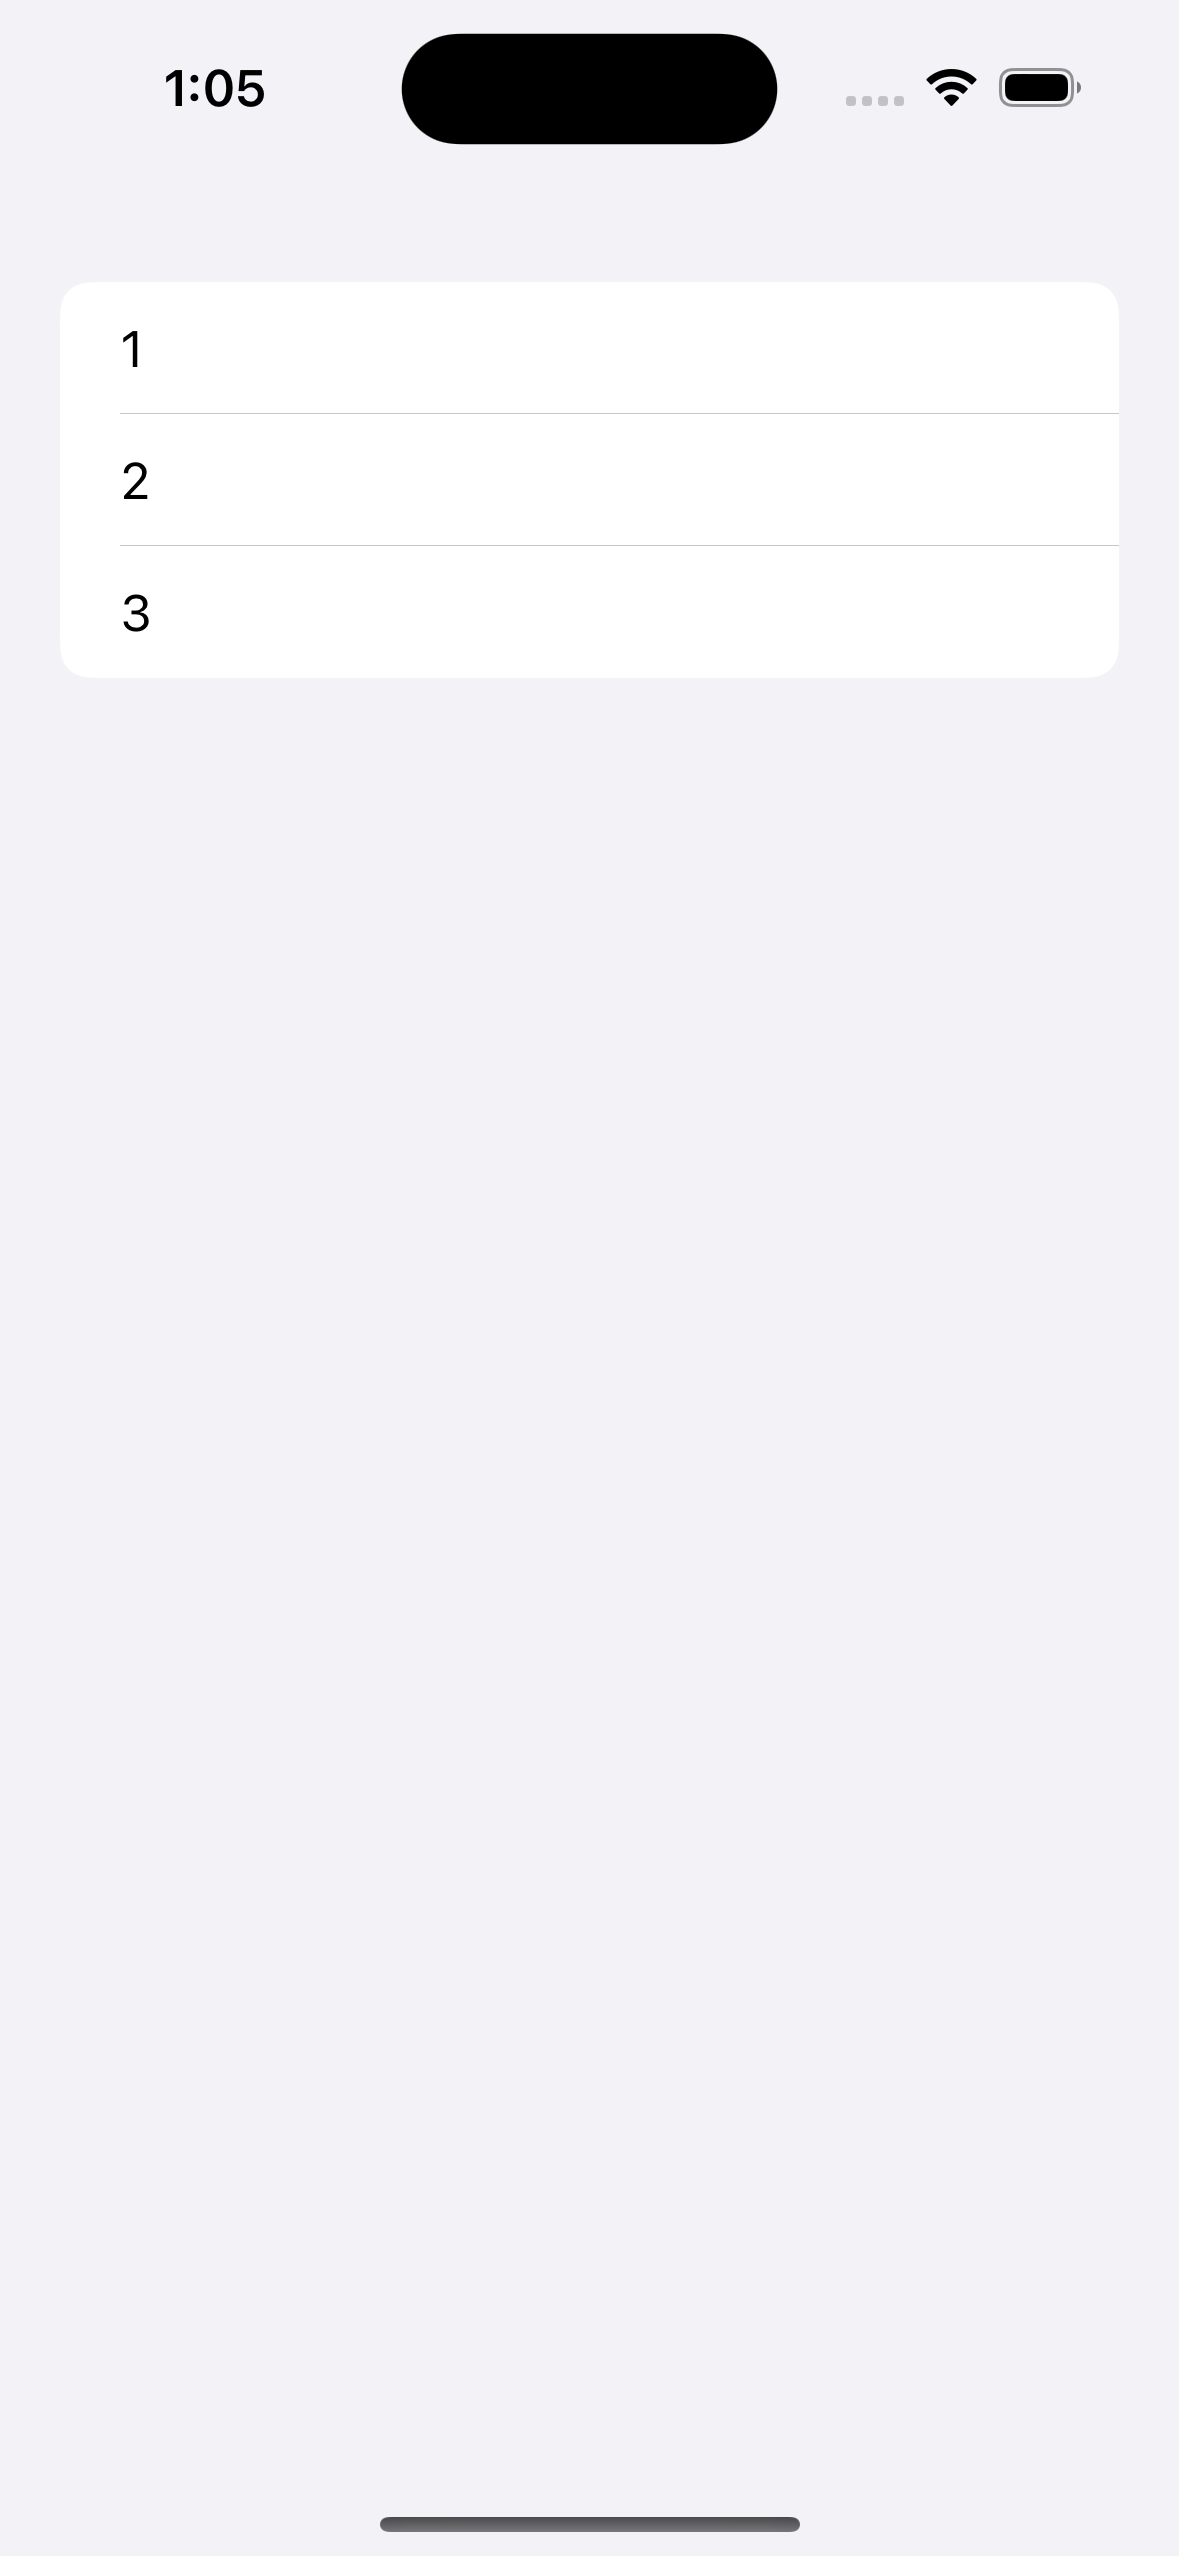
- 사용 예시
struct ContentView: View {
var body: some View {
List {
Text("1")
Text("2")
Text("3")
}
}
}
🟡 Custom Row
: List의 row를 custom해서 만들어줬다.
- Navigation Bar 제외한 UI
struct ContentView: View {
    @State private var data = ["기본", "기본 2"]

    var body: some View {

        VStack(alignment: .leading, spacing: 16) {
            Text("Todo List")
                .font(.title)
                .bold()
            List {
                ForEach(data, id: \.self) { item in
                    TodoListRow(title: item)//custom row
                }
                .listRowInsets(EdgeInsets(top: 0, leading: 10, bottom: 0, trailing: 10))
            }
            .listStyle(.plain)
        }
        .padding()
    }

}

List안의 Row 데이터들을 다른 TodoListRow View로 만들어 custom 해주었다.
import SwiftUI
struct TodoListRow: View {
    var title: String
    @State private var isChecked: Bool = false

    var body: some View {
        HStack {
            Toggle(isOn: $isChecked) { //toggle 버튼
                Text(title)
            }
        }
    }
}
🟡 NavigationView
NavigationBar의 오른쪽에 Item으로 버튼을 넣어보자.
버튼에 "plus.circle"이라는 SF Symbols 이미지를 넣어주었다.
- Navigation Bar trailing Item
struct ContentView: View {
    @State private var data = ["기본", "기본 2"] //임시 데이터

    var body: some View {
        NavigationView {
            //...

            //navigationBatItem 설정
            .navigationBarItems(trailing: //오른쪽 버튼
                                    Button(action: {
                showingAlert = true
            }) {
                Image(systemName: "plus.circle")
                    .resizable()
                    .frame(width: 30, height: 30)
            }
            )
        }
    }

}
🟡 팝업창 (Alert)
: Alert는 경고창을 의미해서,, TextField를 넣기 어려웠는데 찾아보니 넣는 방법이 있었다!!
아래와 같이 .alert를 사용하여 TextField를 넣을 수 있었다.
struct ContentView: View {
    @State private var showingAlert = false
    @State private var name = ""

    var body: some View {
        Button("button") {
            showingAlert.toggle()
        }
        .alert("title text", isPresented: $showingAlert) {
            TextField("Enter your name", text: $name)
            Button("OK", action: {})
        } message: {
            Text("alert message")
        }
    }
}
Alert | Apple Developer Documentation
A representation of an alert presentation.
developer.apple.com
isPresented가 true이면 alert창을 띄우고, false이면 사라진다.
title, isPresented, message와 같은 파라미터를 사용할 수 있다.

struct ContentView: View {
    @State private var showingAlert = false
    @State private var userInputText = ""
    @State private var data = ["기본", "기본 2"]

    var body: some View {
        NavigationView {
            // ...
                .alert("Todo List 작성", isPresented: $showingAlert) {
                    TextField("Title", text: $userInputText)
                    Button("Add", action: {

                    })
                }
            )
        }
    }

}
심플하고 간단한 팝업창을 보여줄 때 유용하게 사용할 수 있을 것 같다.

2️⃣ List Row 추가
미리 설정해놓은 data 배열 값을 List의 Row 데이터로 설정한다.
@State private var data = ["기본", "기본 2"]
List {
    ForEach(data, id: \.self) { item in
        TodoListRow(title: item)
    }
    .listRowInsets(EdgeInsets(top: 0, leading: 10, bottom: 0, trailing: 10))
}
userInputText를 data 배열에 추가하여 List의 Row 데이터를 갱신한다.
.alert("Todo List 작성", isPresented: $showingAlert) {
    TextField("Title", text: $userInputText)
    Button("Add", action: {
        data.append(userInputText)//data 추가
        userInputText = ""
        showingAlert = false
    })
}
최종 코드
import SwiftUI

struct ContentView: View {
    @State private var showingAlert = false
    @State private var userInputText = ""
    @State private var data = ["기본", "기본 2"]

    var body: some View {
        NavigationView {
            VStack(alignment: .leading, spacing: 16) {
                Text("Todo List")
                    .font(.title)
                    .bold()

                List {
                    ForEach(data, id: \.self) { item in
                        TodoListRow(title: item)
                    }
                    .listRowInsets(EdgeInsets(top: 0, leading: 10, bottom: 0, trailing: 10))
                }
                .listStyle(.plain)
            }

            .padding()
            .navigationBarItems(trailing:
                                    Button(action: {
                showingAlert = true
            }) {
                Image(systemName: "plus.circle")
                    .resizable()
                    .frame(width: 30, height: 30)
            }
                .alert("Todo List 작성", isPresented: $showingAlert) {
                    TextField("Title", text: $userInputText)
                    Button("Add", action: {
                        data.append(userInputText)
                        userInputText = ""
                        showingAlert = false
                    })
                }
            )
        }
    }

}
import SwiftUI

struct TodoListRow: View {
    var title: String
    @State private var isChecked: Bool = false

    var body: some View {
        HStack {
            Toggle(isOn: $isChecked) {
                Text(title)
            }
        }
    }
}'스위프트 > SwiftUI' 카테고리의 다른 글
| [SwiftUI] - NavigationBarTitle 스타일 (0) | 2024.02.29 |
|---|---|
| [SwiftUI] - Navigation bar 제외한 background Color 설정 (0) | 2024.02.11 |
| [SwiftUI] - ImagePicker 사용 (1) | 2024.02.01 |
| [Swift] SwiftUI StopWatch 구현 (0) | 2024.01.22 |
| [SwiftUI] - Apple 로그인 구현 (0) | 2024.01.06 |